Pre-Drywall Inspection: What It Is and What We Check
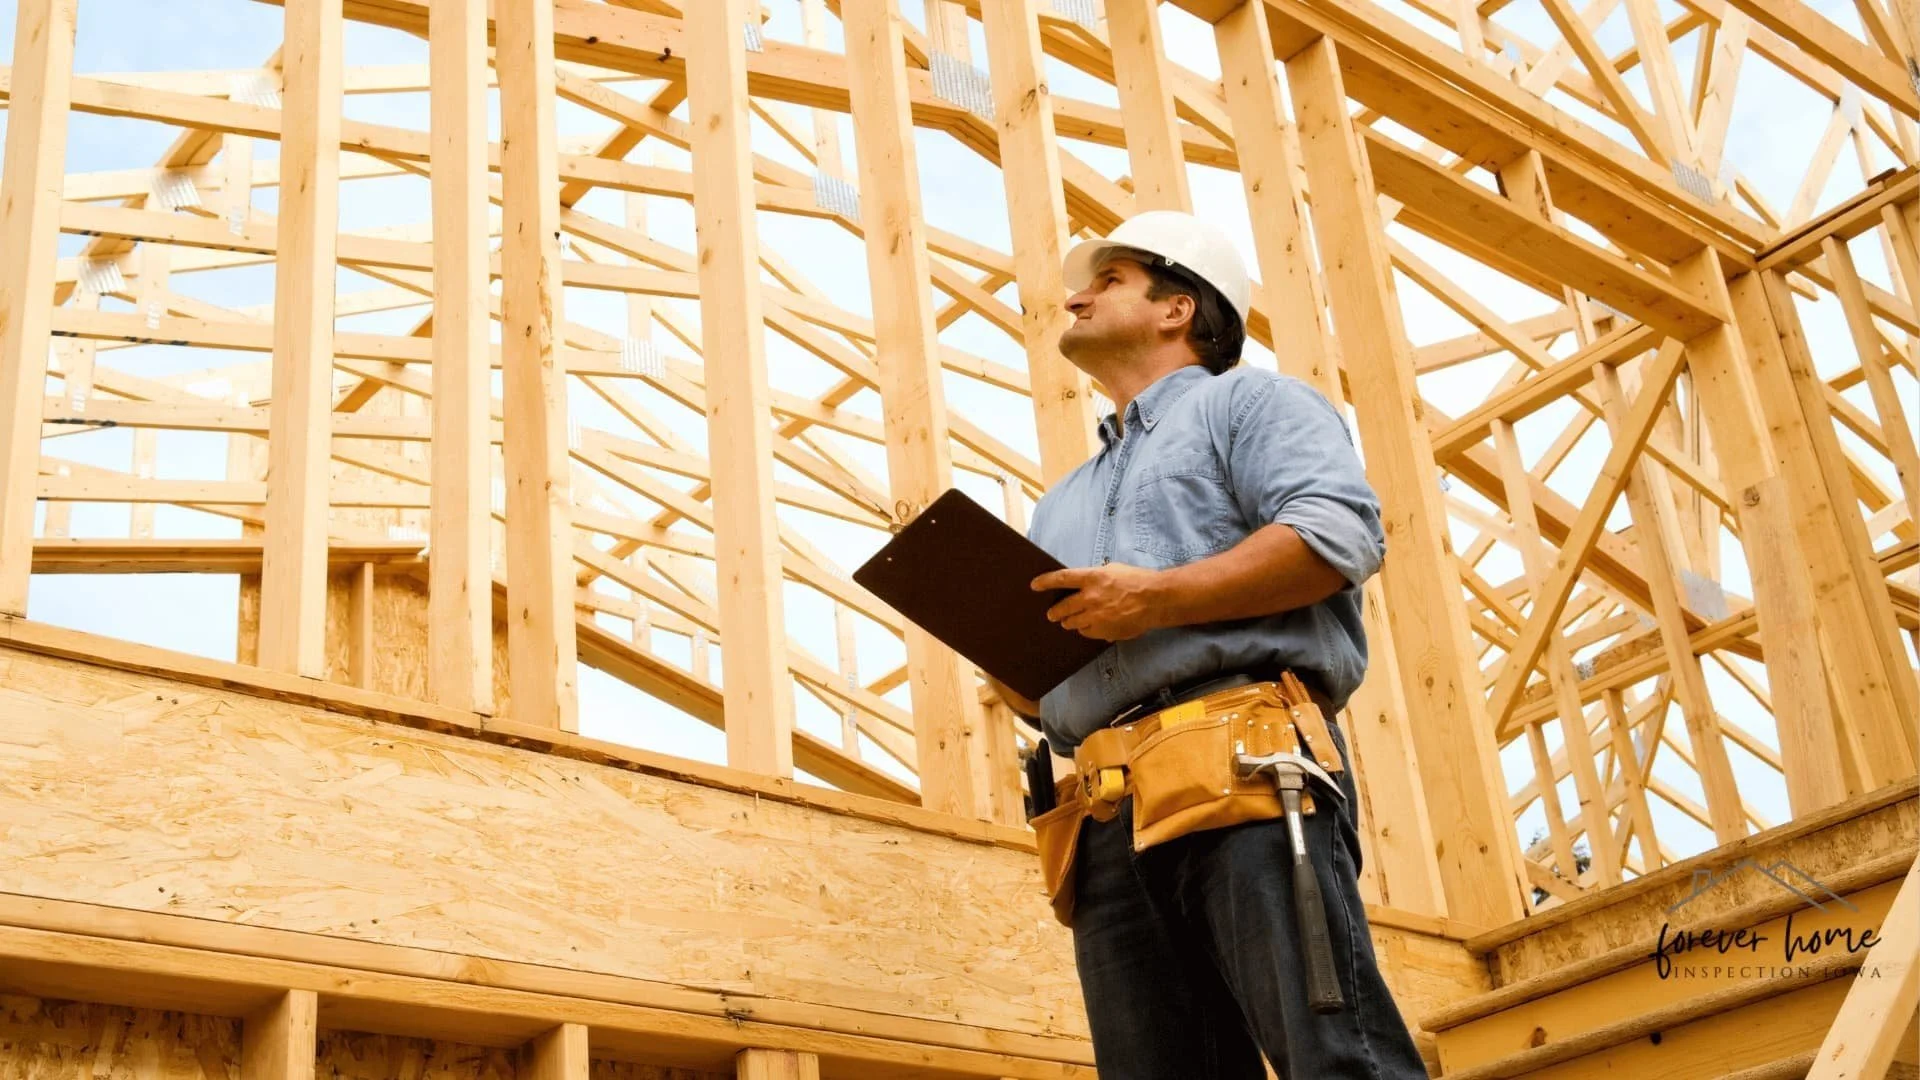
Buying a new build feels like a safe bet—everything is brand new, right? But behind those freshly painted walls, problems can hide for years before showing themselves. A pre-drywall inspection is a critical quality-control step in new home construction, allowing for the identification of structural defects and safety hazards before they are concealed by drywall.
This guide walks you through what a pre-drywall home inspection covers, when to schedule it, what it costs, and how to use the findings to protect your major investment.
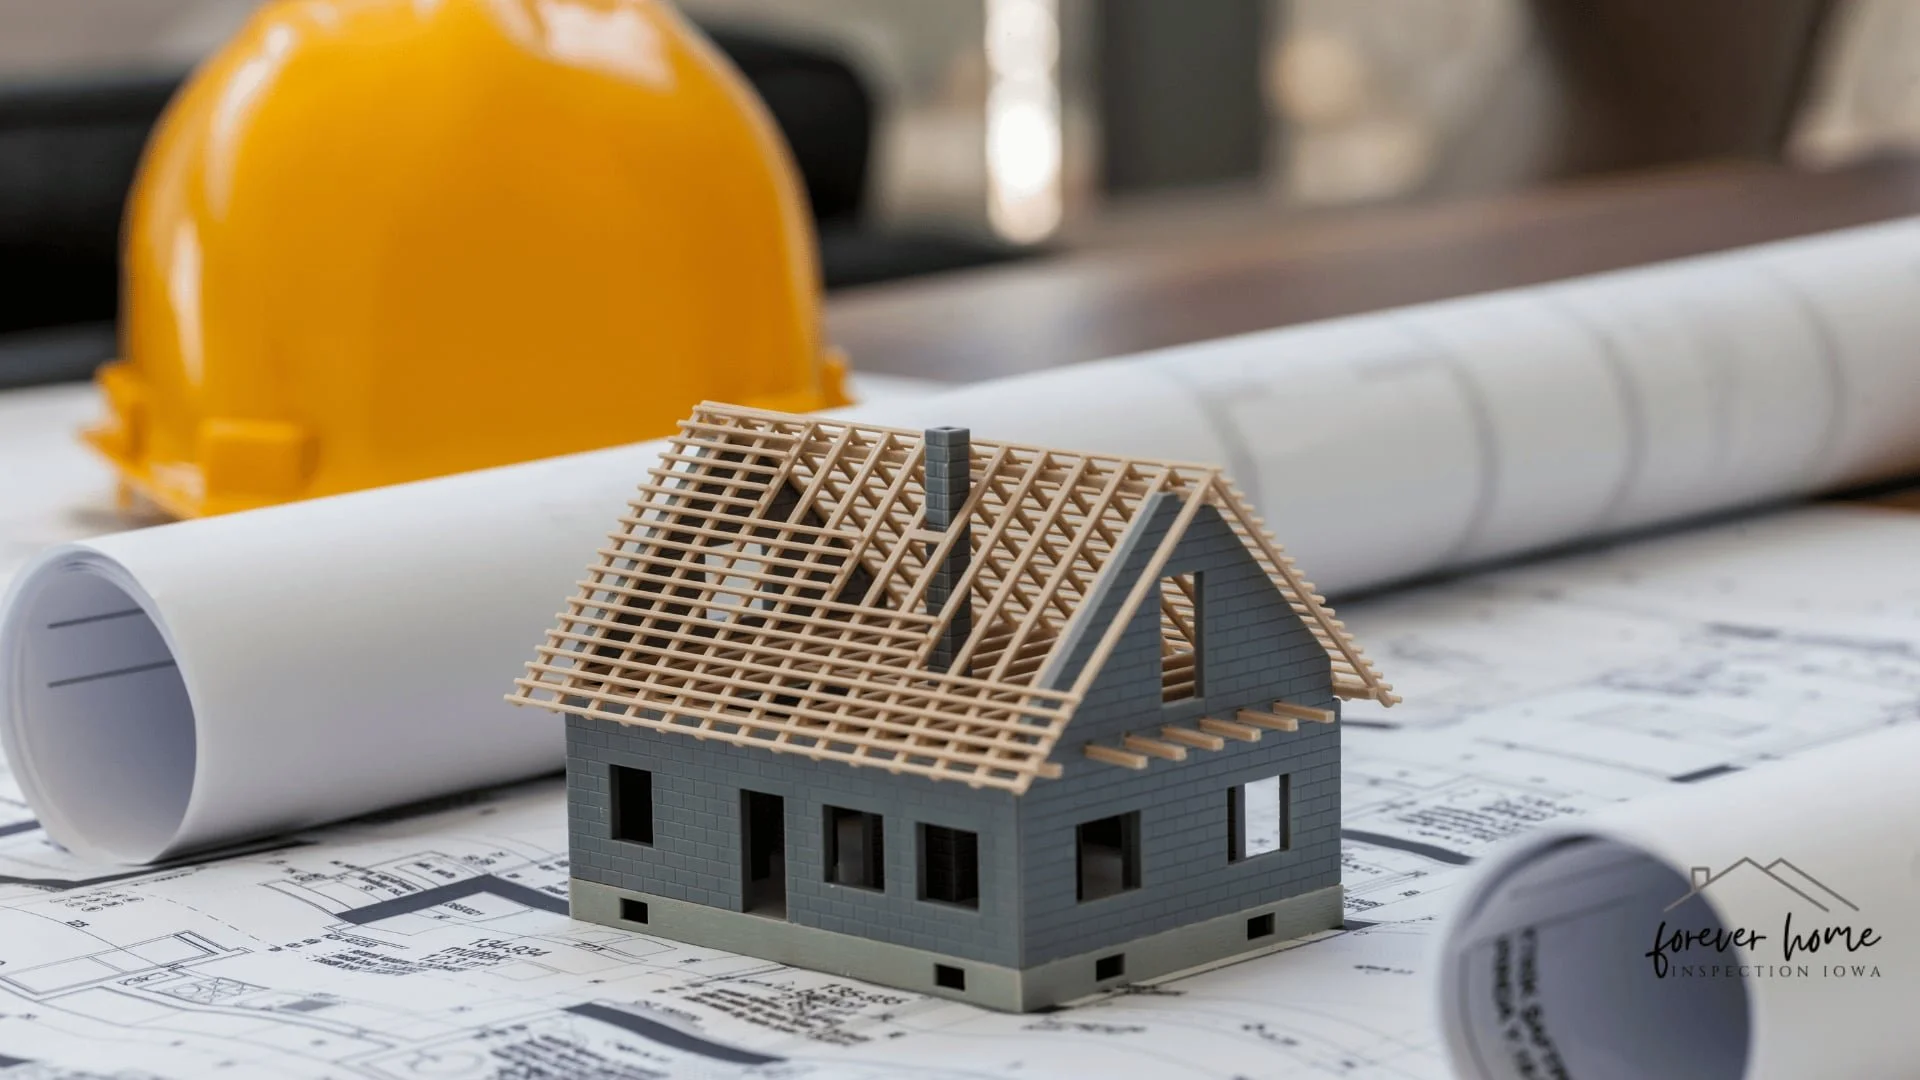
What Is a Pre-Drywall Inspection?
A pre-drywall inspection is a specialized examination of your new home that happens after the foundation, framing, roof sheathing, and all rough-in mechanical systems are complete—but before insulation and drywall installation begins. Think of it as your last clear look at everything that will soon be hidden inside your walls.
The goal is straightforward: verify that structural framing, electrical wiring, plumbing, and HVAC systems are correctly installed while everything remains exposed and easy to fix. This inspection typically occurs once per build, usually midway through the construction process, and is completely separate from municipal code inspections required by the city or county.
These inspections can identify hidden defects such as structural framing errors, plumbing leaks, and faulty electrical wiring that would be invisible once the walls are closed. Problems like misrouted wiring, undersized beams, or missing fire blocking are dramatically cheaper and faster to fix at this stage. Issues identified during a pre-drywall inspection are typically less expensive and disruptive to fix compared to addressing them after drywall installation, which can require demolition and significant costs.
What a Pre-Drywall Inspection Covers
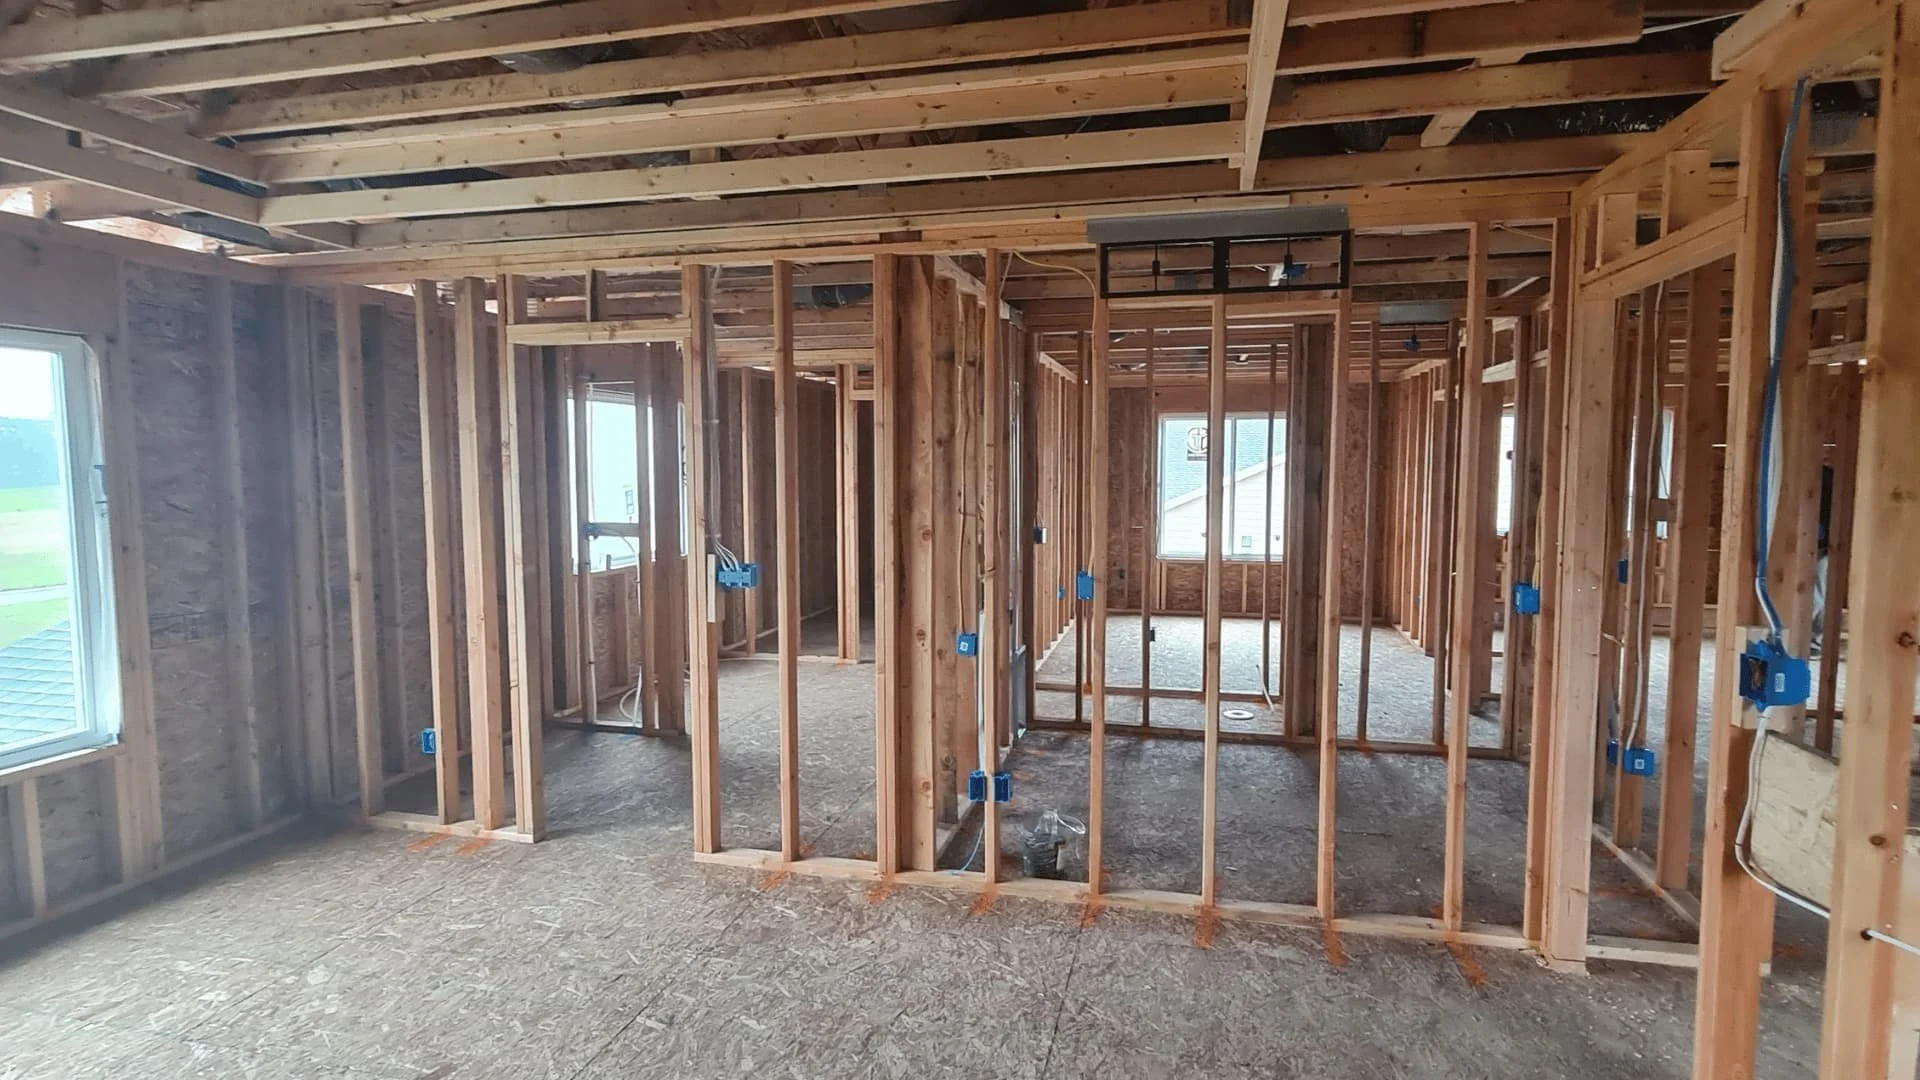
During a typical pre-drywall inspection, we examine the same major systems as a full home inspection—but with a sharp focus on “behind-the-wall” items and rough installation quality that will soon be concealed.
The inspection process involves a room-by-room, system-by-system walkthrough of the framed structure. During a pre-drywall inspection, inspectors focus on several critical elements including structural components, electrical wiring, plumbing systems, and HVAC systems to guarantee the integrity and safety of the home.
We systematically review:
Structural framing and foundation
Roof structure and sheathing
Windows and exterior doors
Electrical rough-ins
Plumbing rough-ins
HVAC rough-ins
Fire blocking and draft stopping
Life-safety provisions
Structural Framing and Foundation
Framing and foundation form the backbone of your house. If these aren’t correct, nothing else matters—which is why we inspect them thoroughly before anything else proceeds.
Inspectors check the structural components of a home, including the foundation, floor system, roof system, and wall system, to make certain they are correctly installed without defects. This includes:
Foundation or slab inspection for visible cracks, heaving, missing anchor bolts, or improperly placed hold-downs
Load-bearing walls, beams, and columns compared against engineered plans
Verification that structural members haven’t been cut, notched, or drilled beyond allowable limits
Floor joist spacing, orientation, and fastening (joist hangers correctly nailed, not relying on drywall for support)
Roof trusses or rafters checked for proper bracing and hurricane clips
Sheathing attachment at walls and roof, spotting missing or overdriven fasteners
Windows, Exterior Doors, and Weather Barriers
Water intrusion around windows and doors ranks among the leading sources of early home damage. We verify that window and exterior door frames are square, plumb, and correctly sized relative to the rough openings in the wall studs.
Key checks include:
Flashing details, sill pans, and housewrap integration around each opening
Proper fastening patterns and shimming
Weather-resistive barrier correctly installed
Poor installation here leads to rot and energy loss. One improperly flashed window can cost thousands in repairs within just a few years—money you could easily save by catching it now.
Electrical Rough-In
The electrical wiring inspection verifies that all installations meet safety guidelines, including the proper installation of outlets, switches, and circuit breakers, making sure that the wiring is correctly routed and secured.
We verify:
Cable routing, support, and protection (nail plates where wires pass through wall studs near edges)
Outlet and switch box locations against plans
Special circuits: kitchen small appliance circuits, laundry circuits, GFCI and AFCI zones
Panel location, conductor sizing, grounding and bonding methods
Multi-wire branch circuits wired correctly
Provisions for future technology (low-voltage, EV charger infrastructure)
This drywall inspection adds an extra layer of quality control but doesn’t replace the licensed electrician’s own tests.
Plumbing Rough-In
Hidden leaks and misrouted drains are among the most expensive problems to fix after drywall covers everything. Inspecting plumbing systems involves verifying the correct installation and placement of pipes, guaranteeing they meet safety standards, which is crucial for safe water supply and effective wastewater management.
Our plumbing inspection covers:
Supply line materials (PEX, copper) and drain-waste-vent materials (PVC, ABS) installed
Proper slope of drain lines (typically 0.25 to 0.5 inches per linear foot)
Venting configuration and secure pipe support
Fixture rough-in heights and clearances for showers, tubs, toilets, and sinks
Main shutoff valves, hose bibbs, and exterior penetrations sealed properly
HVAC Ductwork and Mechanical Systems
HVAC design and installation affect comfort, energy bills, and indoor air quality for decades. HVAC systems are inspected to guarantee proper installation of ductwork, furnaces, and vents, which is essential for efficient heating and cooling, as well as energy efficiency throughout the home.
We assess:
HVAC ducts sized and routed according to mechanical plans
Proper sealing of duct joints (mastic or foil tape)
Duct support spacing and absence of kinks or crushing
Vent locations in each room for adequate supply and returns
Refrigerant line routing and condensate drain paths
Clearances to combustible materials around gas furnaces and water heaters
When to Schedule a Pre-Drywall Inspection
It’s best to schedule your pre-drywall inspection once the main systems and framing are complete, but before insulation and drywall are installed. For standard single-family homes, this typically falls 45–90 days after the slab pour.
The timing of this inspection is crucial; it should be coordinated with your builder to make sure it occurs after all rough-ins are complete but before drywall installation begins. Request 5–7 days’ advance notice of the “ready for insulation” date from your builder or superintendent.
A pre-drywall inspection typically takes between 2 to 4 hours, depending on the size of the property and the complexity of the systems being inspected. Most checks are visual, though having temporary electric service available helps. Schedule early enough that any necessary corrections won’t delay the builder’s drywall schedule.
Pre-Drywall Inspection Cost and What Affects It
A pre-drywall inspection usually costs between $400 and $600, depending on the size of the home and other factors.
The cost of a this type of inspection is influenced by several key factors, including the size of the home, its location, and the complexity of the systems being evaluated. Larger homes typically require more time to inspect due to increased square footage. The type of foundation—whether slab, crawlspace, or basement—can also affect the level of effort involved. Homes with multiple stories generally take longer to assess, as do properties with detached structures such as garages or guest houses. Additionally, more complex systems, such as those with multiple HVAC zones or specialty wiring, can further increase the time and cost of the inspection.
Larger homes or those with more complex systems can expect to pay higher inspection fees, with costs potentially reaching up to $600 for multi-story or detached houses. Some independent inspectors charge flat fees while others use tiered pricing. Ask upfront whether digital photo documentation, videos, and follow-up walkthroughs are included or billed as additional cost.
Optional Add-Ons and Upgrades
Many buyers choose additional services at the pre-drywall stage to maximize access to hidden systems before they’re concealed.
Popular add-ons include:
Thermal imaging scans after insulation but before drywall
Targeted moisture readings in problem-prone areas
Specialty electrical or plumbing audits
Energy-efficiency assessments
Bundling your pre-drywall, final home inspection, and specialty services with the same certified home inspector or company often reduces overall cost.
Why a Pre-Drywall Inspection Matters
Conducting a pre-drywall inspection provides homeowners with peace of mind, guaranteeing that the structural and mechanical systems of their new home are correctly installed and meet necessary standards. Catching misaligned framing, missing nail plates, poorly supported plumbing, or undersized HVAC returns now is far cheaper than opening finished walls later.
Homes with a pre-drywall inspection are 25% less likely to experience major repairs within the first five years. That’s a compelling reason to pay for this smart investment before drywall installation begins.
A third-party inspection provides an independent assessment complementing municipal inspections. Long-term benefits include better comfort, fewer callbacks for costly repairs, lower risk of hidden water damage, and stronger resale value when documentation is retained.
For example, discovering an unvented bathroom exhaust duct routing moisture into a wall cavity—or an unprotected electrical cable too close to stud faces—saves thousands in potential problems down the road and helps you avoid big issues before they become emergencies.
Why Hire a Professional Inspector Instead of Relying Only on the Builder
Builders and contractors focus on production schedules. A home inspector focuses solely on quality and client protection. A private inspector makes certain the builder adheres to both local and quality standards during the pre-drywall inspection process, preventing potentially dangerous mistakes.
Professional inspectors bring specialized training, building familiarity, and thousands of hours of field experience. They act as a neutral party, documenting conditions with pictures and clear descriptions you can share with the builder for corrections.
The modest inspection cost is small compared with repairing hidden framing, plumbing, or wiring defects after move-in. It’s an investment that pays for itself in the long run.
What to Expect During and After Your Pre-Drywall Inspection
The on-site process involves a systematic walkthrough with note-taking, extensive photography, and conversation with you if you attend. Taking photos and videos during the inspection is recommended to have a permanent record of the locations of pipes and wires for future home maintenance.
Most inspections take 2–4 hours for an average new construction home. Inspectors review visible conditions only—no destructive testing. You’re welcome and encouraged to attend, ask questions, and understand what’s being documented.
Expect a written inspection report with photos and prioritized findings within 24–48 hours. This comprehensive report gives your builder time to schedule corrections before drywall.
Key Questions to Ask at Your Pre-Drywall Inspection
The walkthrough is your chance to get oriented to your home’s systems. Good questions include:
What structural, electrical, plumbing, or HVAC concerns were noted?
Which items are urgent to fix before drywall versus minor or cosmetic?
Where are the shutoff valves, main electrical disconnects, cleanouts, and access points?
How should I use the detailed report when communicating with my builder?
Using the Report and Next Steps With Your Builder
The written report typically includes narrative comments, photos, locations, and severity levels for each finding. Review it promptly and share with your builder or superintendent within a day or two.
Builders usually address agreed-upon items before insulation and drywall, then may provide confirmation photos of completed repairs. Retain both your inspection report and builder repair documentation for future reference, resale disclosures, and warranty discussions.
After corrections and municipal approvals, your construction home proceeds to insulation, drywall installation, finish work, and eventually your final home inspection before closing. This entire process protects your investment and guarantees you move into a house built right from the start.
A pre-drywall inspection is one of the most cost-effective decisions you’ll make during new home construction. Coordinate with your builder now to verify the inspection window, and schedule your inspection as soon as rough-ins are complete. Your future self—and your wallet—will thank you.

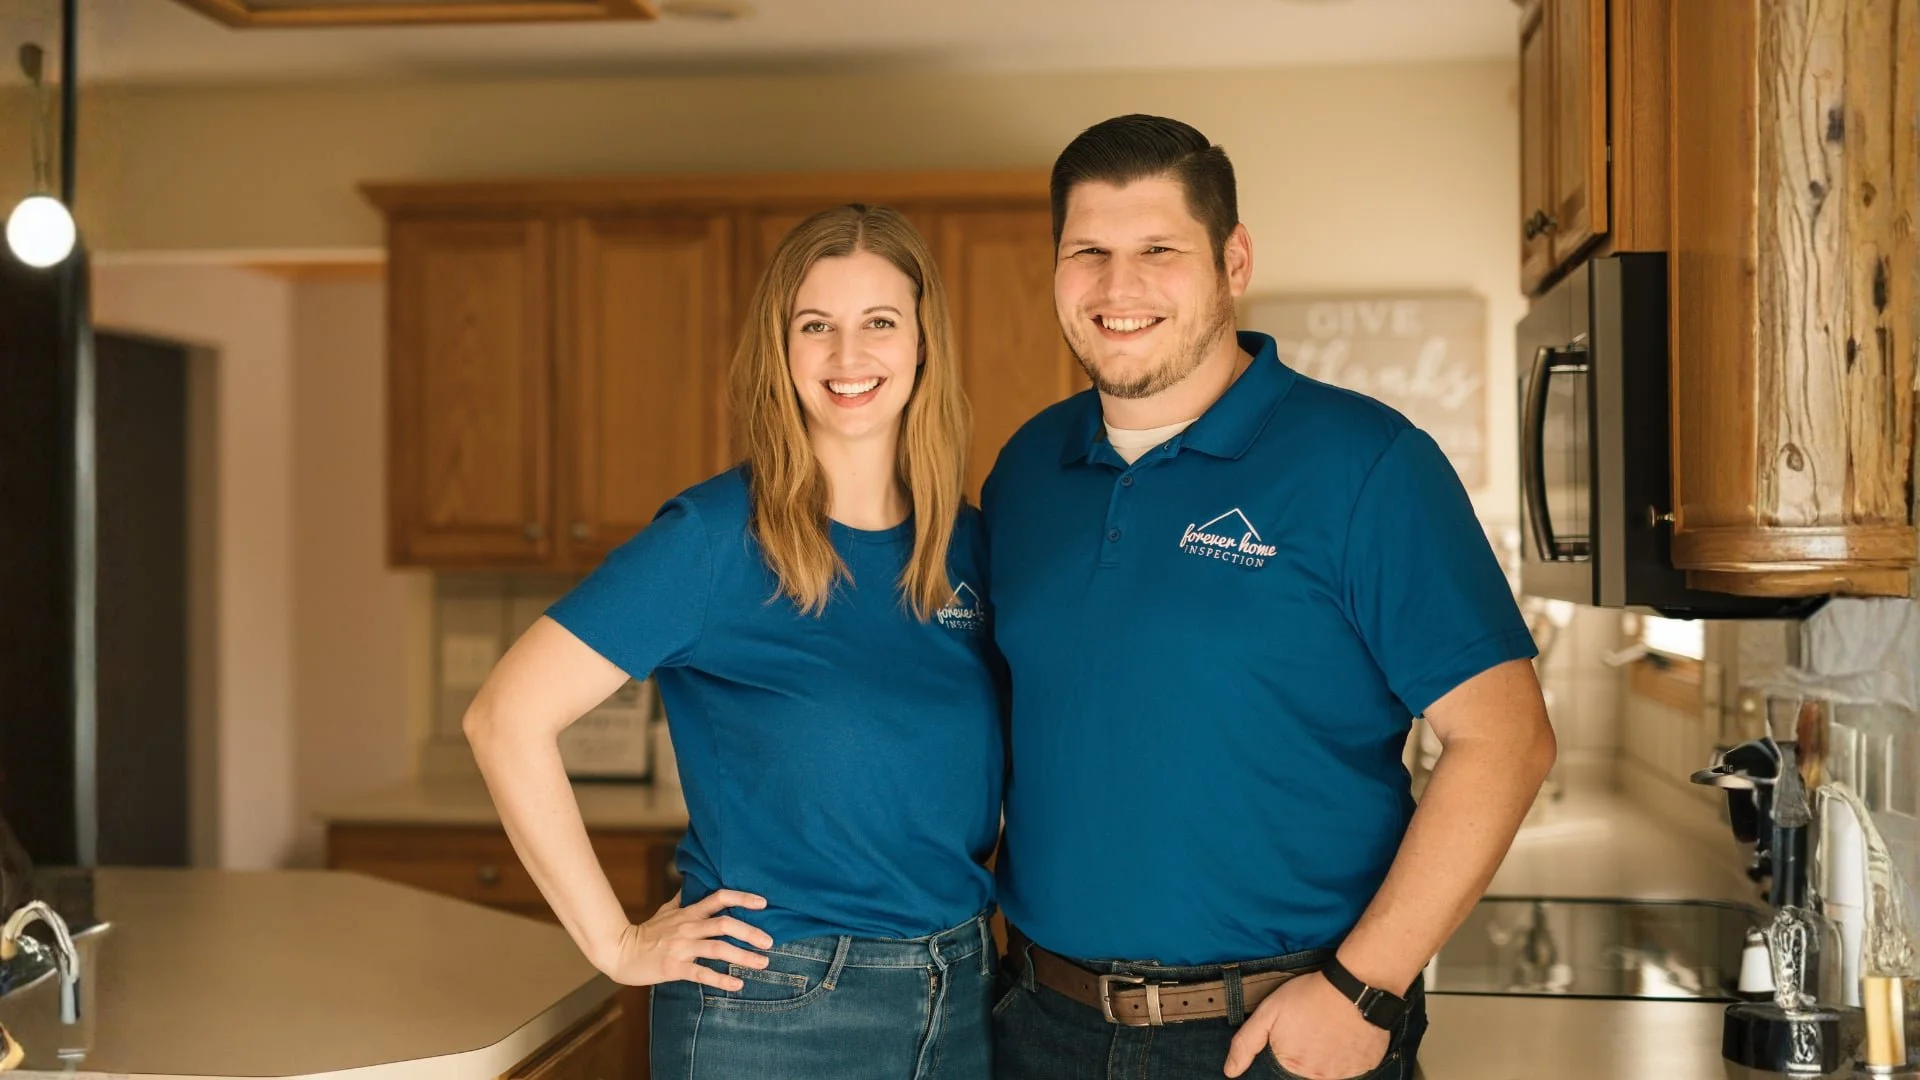
Home Inspectors Serving Iowa
Forever Home Inspection Iowa is a local, certified, and insured company emphasizing ethics and client care. Built on love and loyalty, we ensure every inspection is thoroughly done, which accompanies a highly detailed, digital report and warranty.
We specialize in homebuyer inspections. Primarily serving homebuyers and sellers within 60 miles of the Des Moines, Iowa area, we’re flexible and purposeful in meeting client needs.
Our team operates throughout Central Iowa, ensuring quality inspection services in areas all around the Des Moines metro.
We serve both urban and rural Iowa communities, providing top-notch inspections for both residential and commercial properties.
Our services include surrounding communities like Urbandale, Adel, and others in the region.
Our commitment to comprehensive, dependable inspections extends throughout Central Iowa, ensuring all residents have access to quality inspection services.
We continually strive to meet the diverse needs of Iowan homebuyers and sellers, maintaining excellence in home inspections and helping our fellow citizens across Central Iowa make informed real estate decisions!
How to Schedule Your Home Inspection
Scheduling a home inspection with Forever Home Inspection Iowa is simple and stress-free. Book your inspection online or with a quick phone call—our responsive team makes scheduling easy, a quality our clients and real estate agents consistently appreciate.
We’re not only experts in our field, but qualifying inspections also include a free warranty, adding an extra layer of confidence to your homebuying journey. We’re confident you’ll love partnering with us.
Once scheduled, you’ll receive an email with access to your custom inspection portal, where you can review important documents and complete payment securely. Inspections typically take two to four hours, depending on the size and condition of the property. Every step of the process is designed with your convenience— and peace of mind —in mind!
Reviews From Happy Homebuyers
Frequently Asked Questions
Why is a pre-drywall inspection important?
Once drywall is installed, many critical components are hidden from view. This inspection helps identify issues early— when they are easier and less expensive to correct.
What does a pre-drywall inspection include?
It typically covers:
Framing and structural components
Roof structure and sheathing (if accessible)
Plumbing rough-in
Electrical wiring and panel setup
HVAC ductwork and system layout
Window and door installation
General workmanship and code concerns (to a visual standard)
When should I schedule a pre-drywall inspection?
You should schedule it after all rough-in work is completed but before insulation and drywall are installed. Coordination with your builder is important to ensure proper timing.
Do I need permission from the builder?
Yes. Builders typically require advance notice and may have specific policies regarding third-party inspections. Always communicate with your builder before scheduling.
What are common issues found during pre-drywall inspections?
Common findings may include:
Improper framing or missing supports
Incorrectly installed wiring or plumbing
HVAC duct issues (poor routing or sealing)
Missing fire blocking or safety features
Window or door installation defects
Does a pre-drywall inspection replace the final home inspection?
No. A pre-drywall inspection is just one phase. A final inspection (and possibly additional inspections, like a new construction warranty inspection) is still recommended.
Is a pre-drywall inspection necessary for new construction?
While not required, it’s highly recommended. Even well-built homes can have oversights, and this step provides added peace of mind.
Want More?
Check out other posts we’ve written.